Image optimization is no longer optional—it’s essential. Whether you’re a student learning WordPress, a freelancer building client websites, or a WordPress developer working on large-scale projects, mastering How to Optimize Images in the WordPress Media Library (Step-by-Step) can dramatically improve site performance and SEO.
At Atechno, we’ve worked with dozens of websites across Pakistan, and one issue keeps popping up: slow-loading pages due to unoptimized images. Let’s fix that—step by step.
Image optimization is the process of reducing image file size without sacrificing quality. Optimized images load faster, consume less bandwidth, and improve user experience. In WordPress, this starts right from the Media Library.
A faster website doesn’t just feel better—it ranks better on Google. That’s why image optimization plays a huge role in SEO and Core Web Vitals.
Large images increase page load time. Google considers page speed a ranking factor, and slow sites often suffer higher bounce rates. Optimized images help search engines crawl your site efficiently and keep users engaged longer.
Although internet infrastructure is improving in Pakistan, many users still rely on slower mobile connections. Heavy images can cause pages to load painfully slow, especially on 3G or unstable networks.
Most users in Pakistan browse websites on mobile devices. Optimized images ensure your site loads smoothly on smartphones, improving accessibility and engagement.
Uploading Large Image Files
Uploading images directly from cameras or designers often results in files larger than 3–5 MB. This is a major performance killer.
Ignoring Image Formats
Using PNGs when JPEGs or WebP would work better is another common mistake. Each format serves a different purpose.
Choosing the Right Image Dimensions
Before uploading, resize images to match your website layout. For example:
This avoids unnecessary scaling by WordPress.
Selecting the Best Image Format
| Format | Best Use Case |
| JPEG | Photos and blog images |
| PNG | Logos and transparent images |
| WebP | High-quality images with small file size |
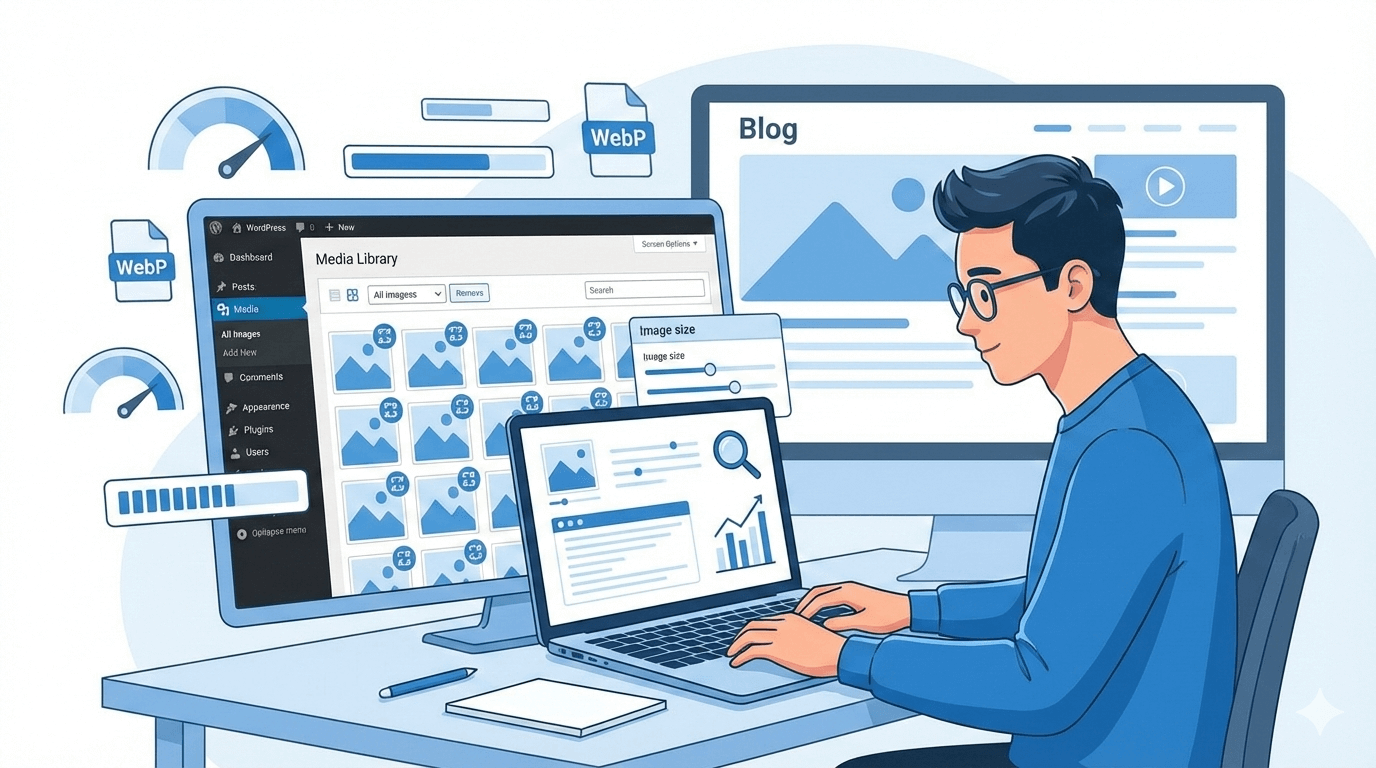
This is the core of How to Optimize Images in the WordPress Media Library (Step-by-Step).
Click on the image and fill in:
This helps with organization and SEO.
Alt text is crucial. Describe the image clearly and naturally. This improves accessibility and helps images rank in Google Image Search.
Example:
“WordPress media library image optimization tutorial”
Click Edit Image to:
Save changes to reduce file size instantly.
Some popular choices include:
These plugins automatically compress images upon upload.
👉 Learn more about WordPress performance tools from the official WordPress site: https://wordpress.org/support/article/optimization/
Which Compression Type Should You Use
For most websites, lossy compression offers the best balance.
Lazy Loading Images
Lazy loading delays image loading until users scroll to them. This significantly improves initial page speed.
Using WebP Images
WebP images load faster and maintain quality. Many plugins automatically convert images to WebP for supported browsers.
File Naming Conventions
Always rename images before uploading:
Image Sitemaps
Image sitemaps help Google discover your visuals faster, especially useful for blogs and portfolios.
1. Do optimized images really improve SEO?
Yes, faster pages rank better and provide a smoother user experience.
2. Should students use image optimization plugins?
Absolutely. They simplify the process and save time.
3. Are free plugins enough for freelancers?
For small to medium projects, free versions are usually sufficient.
4. Does WordPress automatically optimize images?
WordPress resizes images but does not fully optimize them.
5. Is WebP supported by WordPress?
Yes, newer WordPress versions support WebP images.
6. How often should I audit images?
At least once every 3–6 months.
Mastering How to Optimize Images in the WordPress Media Library (Step-by-Step) is a must-have skill for students, freelancers, and WordPress developers in Pakistan. Optimized images mean faster websites, happier users, and better search rankings.
At Atechno, we believe performance is the foundation of success. Start optimizing your images today—and watch your WordPress site fly 🚀.

Comments are closed